

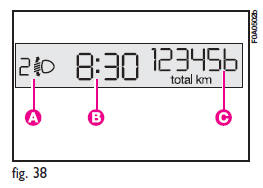
“STANDARD” SCREEN fig. 38
The standard screen shows the following indications:
A - Headlight aiming position display (with dipped beam headlights on).
B - Clock (always displayed, also with key removed and front doors closed).
C - Odometer (km or miles covered).
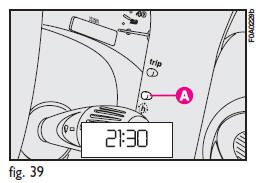
CONTROL BUTTONS fig. 39
A - Clock.
CLOCK fig. 39
To adjust the clock press button A.
The clock will advance by one unit each time the button is pressed. Press the button and hold it down for a few seconds to rapidly advance the time automatically. When the clock draws near to the correct time, release the button and complete the regulation manually.
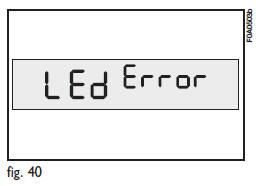
WARNING LIGHT TEST fig. 40
The following warning lights are tested:
– handbrake on/low brake fluid level;
– ABS and EBD system (where provided);
This tests are carried out automatically when turning the ignition key to MAR and during normal operation when a fault is found. At the end of the initial check, the display will show failures, if any (through one or more warning lights) by the wording “LEd Error” flashing for about 10 seconds.
See also:
High Beams
With the low beams activated, push the multifunction lever towards the instrument
panel to turn on the high beams. Pull the multifunction lever toward the steering
wheel to turn off the high bea ...
Tire Pressure Monitoring System (TPMS)
The Tire Pressure Monitor System (TPMS) will warn the driver of a low tire pressure
based on the vehicle recommended cold tire pressure.
The tire pressure will vary with temperature by about 1 psi ...
How to warm up the engine after is has just started (petrol and diesel
versions)
– Begin to move forward slowly letting the engine turn at medium revs.
Do not accelerate abruptly.
– Do not push the engine to its limit for the first few kilometers. You are recommended
to wait u ...